Getting Started with FossDoc

Logging in to the System
Administrator Account
Sample Documents
Changes to the Document Type
Logging in to the System
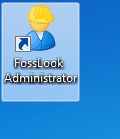
Once you've successfully installed all components of the platform, you can now login to the system. Go to the Windows "Start" menu and select "FossDoc Administrator" from the list of installed software, or use a shortcut on your desktop:
Note: "FossDoc Administrator (Extended Mode)" application is not recommended for beginners because it's more complicated than simple "FossDoc Administrator".
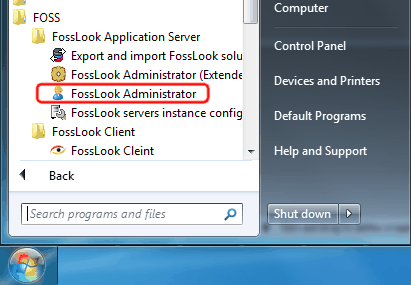
Next, enter the required information in the "Connection to FossDoc server" dialog:
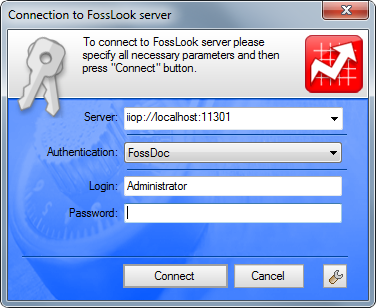
- Server: you can leave this field as it is, all necessary connection settings are already filled in, but if you like, you can select a server instance from the drop-down list. Also, you can simply type "localhost", the system supports multiple options for this field.
- Authentication: select FossDoc here.
- Login: type Administrator in this field. The system offers to use your default Windows user name, but you should type Administrator here. Windows user name can be useful if you're using Windows authentication.
- Password: the default password for Administrator is 123.
Note: In case of any problems or difficulties with the login procedure, please contact us on our "Feedback" page. Our staff will be glad to help you.
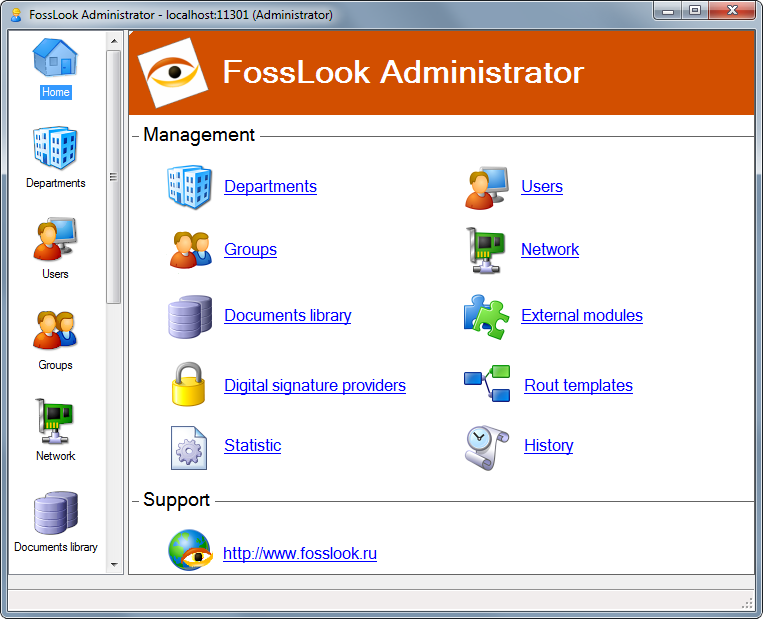
After pressing "Connect" button, you'll see the main window of the "FossDoc Administrator" application:
Administrator Account
Ok, so now you've logged in to the system, but you have only one user - Administrator. This is a main administrative account of the system and it's not supposed to be used by your employees. Only administrator should use this account.
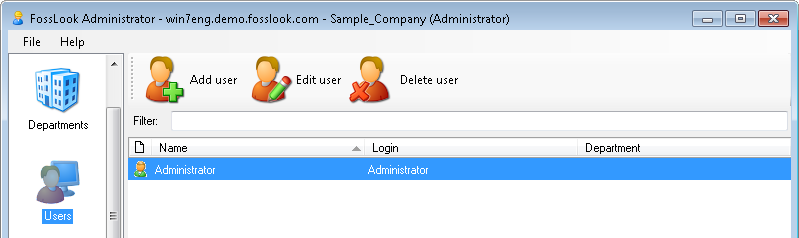
Ideally, now you need to create a virtual representation of your company. Start by creating a department structure, then create users in your departments.
Next, you can try to create your own document types. Just to get the idea of what it is, we recommend you to import a set of standard libraries, and try to work with them.
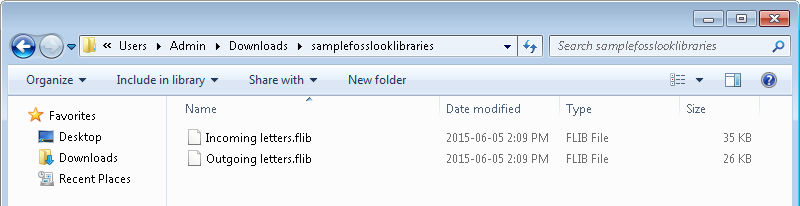
Sample documents
com/downloads/installs/samplefosslooklibraries.zip) archive, which contains examples of document libraries (.flib) that can be created in the system.
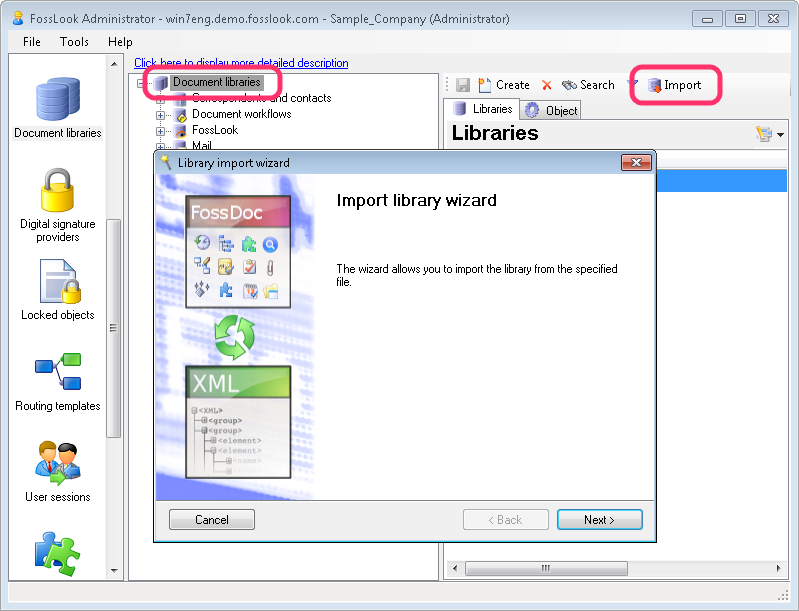
To import these libraries into your FossDoc server, in FossDoc Administrator select "Document library" tab and click "Import" button.
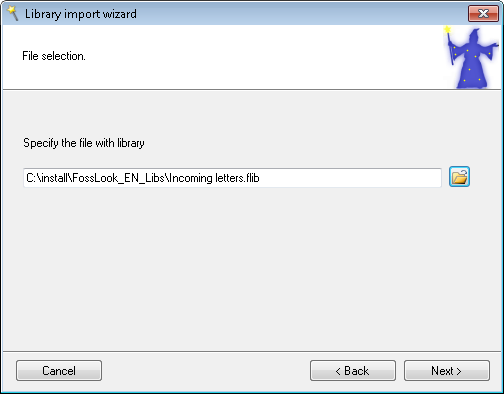
You can import all files or choose only those which you are interested in.
The corresponding libraries with typical documents, directories and folders to store them will be added to your server libraries:
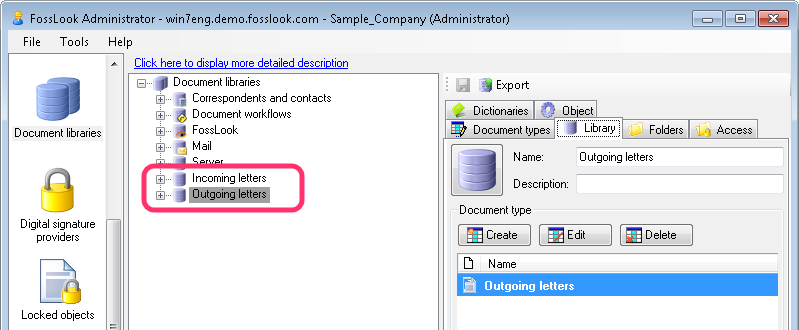
To add the ability for previously created users to see the appropriate folders and work with documents, you need to give them appropriate access rights to these folders.
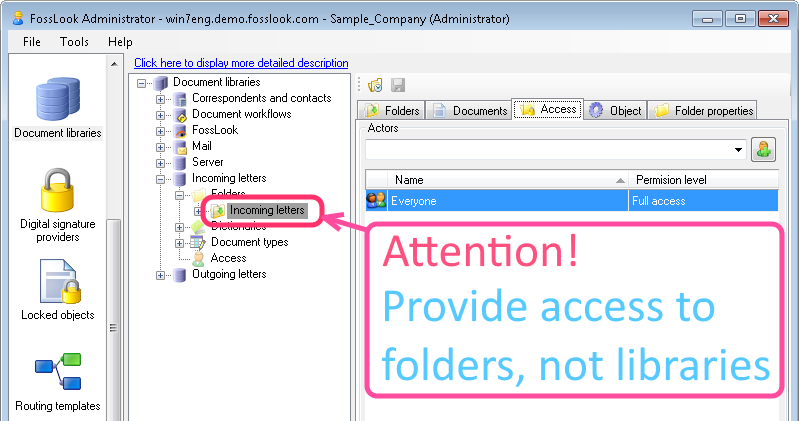
Important: The access rights should be provided to folders, not to the libraries.
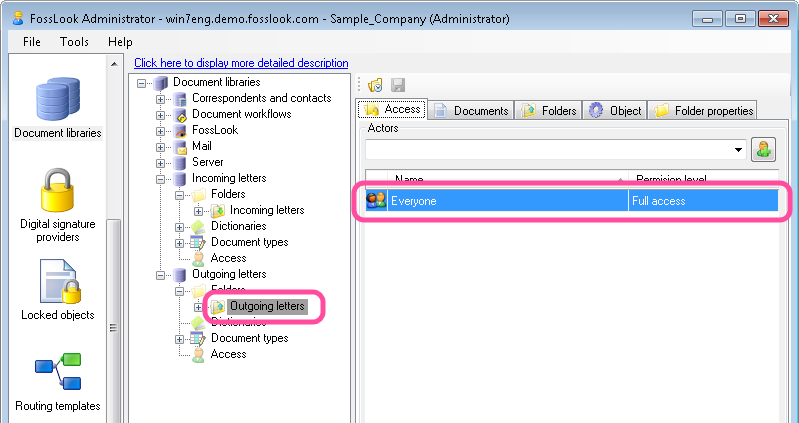
Open the "Incoming letters" library, click on "Incoming letters" folder below it, and provide access to this folder by clicking the blue link on the "Access" tab.
For more information about access rights refer to this article: Options for providing access to folders and documents.
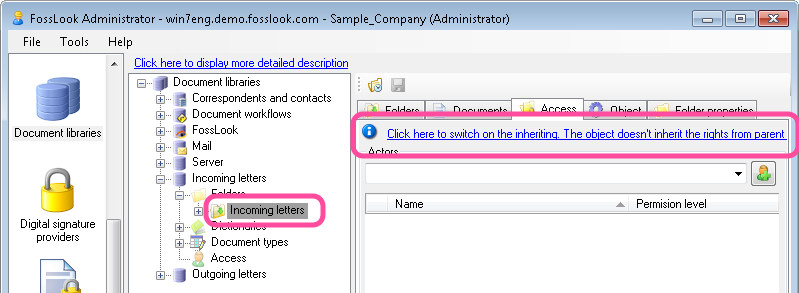
Next, you need to break the inheritance of the access rights from parent, and give the group "Everyone" full access to the folder "Incoming letters".
On the "Access" tab click on the "Add" icon and select group "Everyone", then click "Ok". After that, select "Full access" in the "Permission level" column.
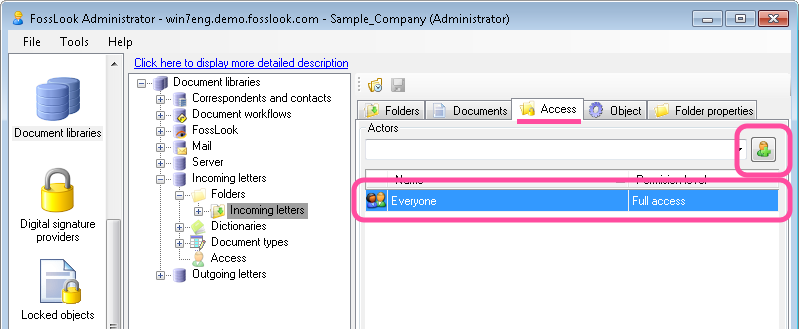
Once you've done that, you can share "Outgoing letters" in the same way.
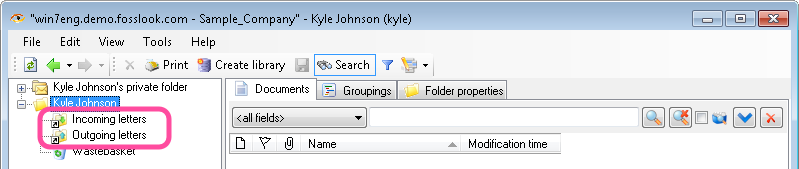
As a result, all users of the system will see the following folder structure and be able to work with the documents presented below.
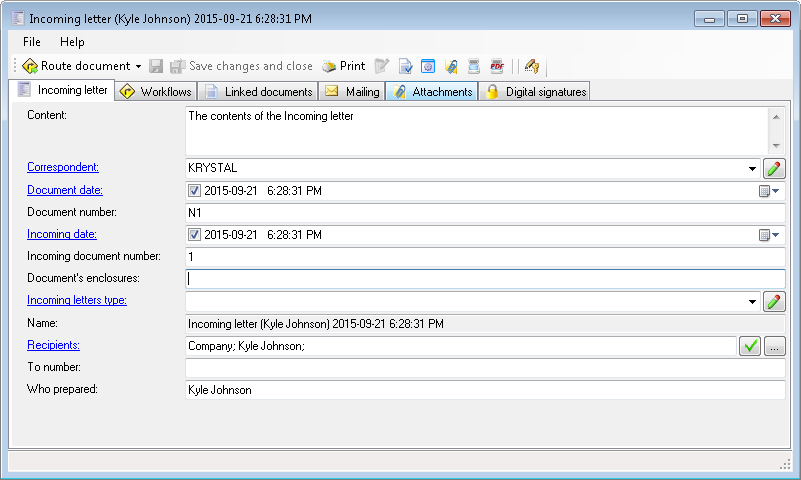
Incoming Letter
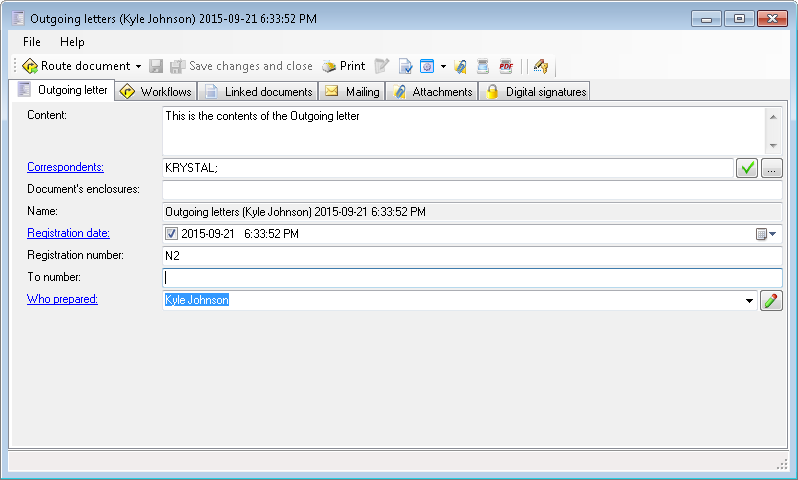
Outgoing Letter
Changes to the document type
If you want to make some changes to the document, you can easily do this with FossDoc Administrator. You can add or delete fields, enable or disable any document functions, etc.. For more information on this topic, please refer to "Document management" section on our site. Watch our short Video Tutorials
Related articles
- FossDoc Installation
- FossDoc Platform Structure
- Hierarchical Business Structure
- Creating Your Company Structure
- FossDoc Administrator program
- FossDoc Client Desktop Application
- Enterprise Information Systems Definition